Showing posts with label Holiday. Show all posts

Sunday, March 29, 2015

Cinnamon Roll Cake


My family loves cinnamon rolls but I don't always have the time to make the dough and let rise. This Cinnamon Roll Cake is the perfect substitute. This is definitely a treat and is great to make for special occasions such as Easter, Christmas, any Holiday, or on an occasional Sunday morning, like today.There's not much else I can say about this other than it is really yummy and pretty easy to make. It's great right out of the oven or at room temperature (I personally prefer room temp). Coffee or milk is a must with this.


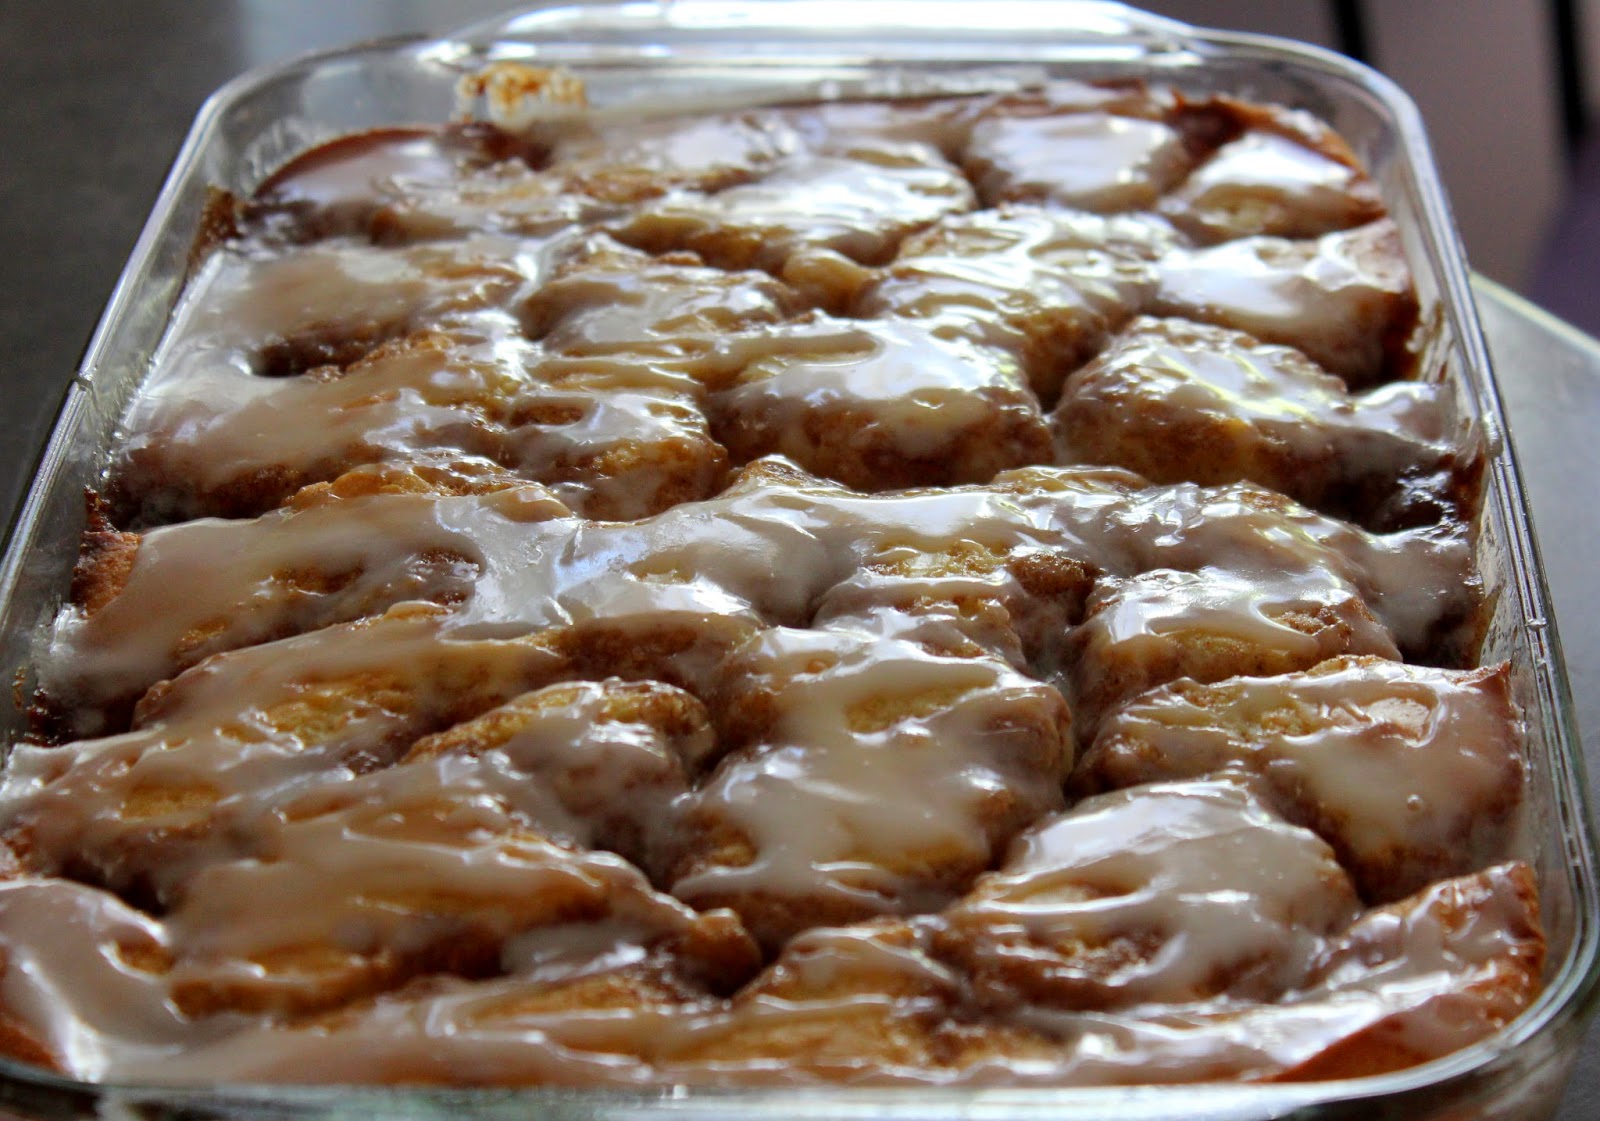


Cinnamon Roll Cake

Cinnamon Roll Cake:

CAKE:
3 cups Flour
1/4 teaspoon Salt
1 cup Sugar
4 teaspoons Baking Powder
1 1/2 cups Milk
2 Eggs
2 teaspoons Vanilla
4 T Butter, melted

TOPPING:
1 cup ( 2 sticks) Butter, softened to room temperature
1 cup Brown Sugar
2 Tablespoons Flour
1 Tablespoon Cinnamon

GLAZE:
2 cups Powdered Sugar
5 Tablespoons Milk
1 teaspoon Vanilla

DIRECTIONS: Preheat oven to 350 degrees. Spray a 9×13 glass baking pan with cooking spray. Set aside.

In an electric or stand mixer add the flour, salt, sugar, baking powder, milk, eggs, and vanilla. Once combined well , slowly stir in the melted butter. Pour into the prepared 9×13 baking pan.

FOR TOPPING, In a large bowl mix the 2 sticks of butter, brown sugar, flour and cinnamon together until well combined and creamy. Drop evenly over the batter by the tablespoonfuls and use a knife to marble/swirl through the cake. (I found it hard to swirl so just left it be and it came out perfect).

Bake at 350 for 28-32 minutes or when a toothpick inserted near the center comes out nearly clean.

FOR GLAZE: In a medium bowl, mix the powdered sugar, milk and vanilla together with a whisk. Drizzle evenly over the warm cake. Serve warm or at room temperature.


Enjoy!!

Saturday, February 14, 2015

Valentine's Day Sour Cream Cutout Cookies Personalized with White Chocolate Names


Happy Valentine's Day! 
Nothing says I love you more than a soft cutout sugar cookie with buttercream frosting and personalized with your name in chocolate

I made these for my daughter and her friends Valentine's Day. 
They will be celebrating one of the girls 16th birthday. 
The birthday girl is a huge fan of Harry Potter so I personalized 5 of the cookies with their names and then added a few Harry Potter decorations as well as a Sweet 16 decoration.

I decorated the cookies with buttercream frosting and then made their names and Harry Potter decorations with white chocolate candy coating. It's real simple, just print out the names and.or decorations and then trace ontop of wax paper. The peel off easily and then can be placed on top of a freshly frosted cookies.

Below are the recipes for the cookies and buttercream frosting and 
a tutorial for making chocolate names and designs.


Sour Cream Cutout Cookie Recipe:

Sour Cream Cutouts:

Ingredients:
2 cups sugar
1 cup sour cream
3 eggs
1/2 cup butter or margarine, softened
1/2 cup vegetable shortening
5 1/2 cups all-purpose flour
2 tsp. baking powder
2 tsp. baking soda
1 tsp. vanilla
1 tsp. almond extract
1/4 tsp. salt


Makes 10 dozen cookies

Directions:
In large mixing bowl, combine sugar, sour cream, eggs, butter and shortening. Beat at medium speed of electric mixer until light and fluffy. Add flour, baking powder, baking soda, vanilla, almond extract and salt. Beat at low speed until soft dough forms. Cover with plastic wrap. Chill 1 to 2 hours, or until firm. Note: this dough is very soft, don't worry. Let it chill for a few hours and it will be perfect to roll out and cut. 


Heat oven to 350 degrees. On well-floured surface, roll dough to 1/4 inch thickness (don't cut any thinner). Using 3 inch cookie cutters, cut desired shapes into dough. Place shapes 2 inches apart on ungreased cookie sheets. Bake for 6 to 8 minutes, or until edges are light golden brown. Prepare frosting as directed. Decorate cookies as desired. Let dry completely before storing. Freeze well unfrosted.


Buttercream Frosting:

Ingredients:
1/2 cup unsalted butter, softened
1/4 cup shortening
5 cups powdered sugar
2 teaspoon vanilla extract
1/4 cup milk
pink food coloring


Directions:

Mix softened butter on medium speed with an electric or stand mixer. Beat for 30 seconds until smooth and creamy.

Add powdered sugar, and vanilla extract until crumbly. Gradually add milk until frosting reaches desired consistency. Add a couple drops of pink food coloring.

Frost each sugar cookie using a knife and sprinkle with pink sprinkles.


Chocolate Names & Designs Tutorial

 Type your names using MS Word or your favorite word processor and print on white paper

 Place a sheet of waxed paper on top of the printed page

Melt the candy coating, such Make 'N Mold chocolate 
and place in a squirt bottle or decorating bag
 

Trace the name with the melted candy coating / chocolate
 

Let the candy coating / chocolate harden (it just takes a few minutes)
 
 Peel chocolate name from the wax paper and place on freshly frosted cookies


~Happy Valentine's Day~


Wednesday, April 9, 2014

Easter Sock Cupcakes

rolled making sure to keep the bottom flat (so that the cupcake stands upright). - See more at: http://www.733blog.com/2011/01/sock-cupcake-tutorial.html#sthash.axg7iXPy.dpuf


Looking for a guilt free sweet treat for your kids Easter basket? How about an adorable Easter Sock Cupcake. These are adorable treats are great for little ones, teens, and even grown ups. Easter Sock Cupcakes have a only a few ingredients and are easy to make. 


Easter Sock Cupcakes ...

Ingredients:
  • Socks (1 pair of fuzzy socks, or 2-3 ankle socks)
  • Rubber band
  • Decorative Paper
  • Tape or Hot Glue
  • Clear Treat Bag (optional)
Directions: 

There's a great DIY step by step tutorial over on Seven Thirty Three's blog or you may follow my steps below (sorry no pictures).

For my cupcakes I used 3 pair of no-show ankle socks. You can use 1 pair of fuzzy socks or any socks of your choice.
making sure to keep the bottom flat (so that the cupcake stands upright). - See more at: http://www.733blog.com/2011/01/sock-cupcake-tutorial.html#sthash.axg7iXPy.dpuf
  1. Cut your decorative paper into a 12 x 12.5 inch strip. See steps at bottom of this post.
  2. Starting at the toe, roll the pair(s) of socks up making sure that each layer that forms is just slightly below the layer above it. This makes the 'cupcake frosting'.
  3. Once you are done rolling the socks, secure the rolled socks by placing a rubber band (or hair tie) around the bottom half of the rolled socks.
  4. Get your 12 x 2.5 inch decorative paper that you cut out. Wrap it around the bottom half of rolled socks and secure with tape a dab of hot glue. The socks should be sticking up out of the top so that they look like frosting.
  5. Place a wrapped chocolate Easter candy on top, or insert a lollipop through the center of the rolled socks (this will be your cherry on top so use whatever wrapped candy you would like)
  6. Now place the Sock Cupcake in a clear plastic treat bag and tie with coordinating ribbon and gift card. On the gift card write "This cupcake is not eat. It was 'baked' with love to warm your feet!"

These Sock Cupcakes are great gifts for children, teachers, moms, sisters, brothers for Easter, Valentine's Day, Christmas, Mother's Day, etc. Have fun and be creative with your cuppies!


Decorative Paper Strips for Cupcake Liners / Holders:

The decorative paper, printables and gift cards used here are from Anders Ruff's Easter Has Sprung design collection. You can purchase them here

Print the pink, green and/or blue gingham paper from the Easter Has Sprung collection (or purchase decorative paper from your favorite craft store). Cut each printed paper into 12 x 2.5 inch strips with or scissors. Using a paper punch cutter, punch a decorative border on one side - this will be the top of your cupcake holder.