Showing posts with label Christmas. Show all posts

Sunday, March 29, 2015

Cinnamon Roll Cake


My family loves cinnamon rolls but I don't always have the time to make the dough and let rise. This Cinnamon Roll Cake is the perfect substitute. This is definitely a treat and is great to make for special occasions such as Easter, Christmas, any Holiday, or on an occasional Sunday morning, like today.There's not much else I can say about this other than it is really yummy and pretty easy to make. It's great right out of the oven or at room temperature (I personally prefer room temp). Coffee or milk is a must with this.


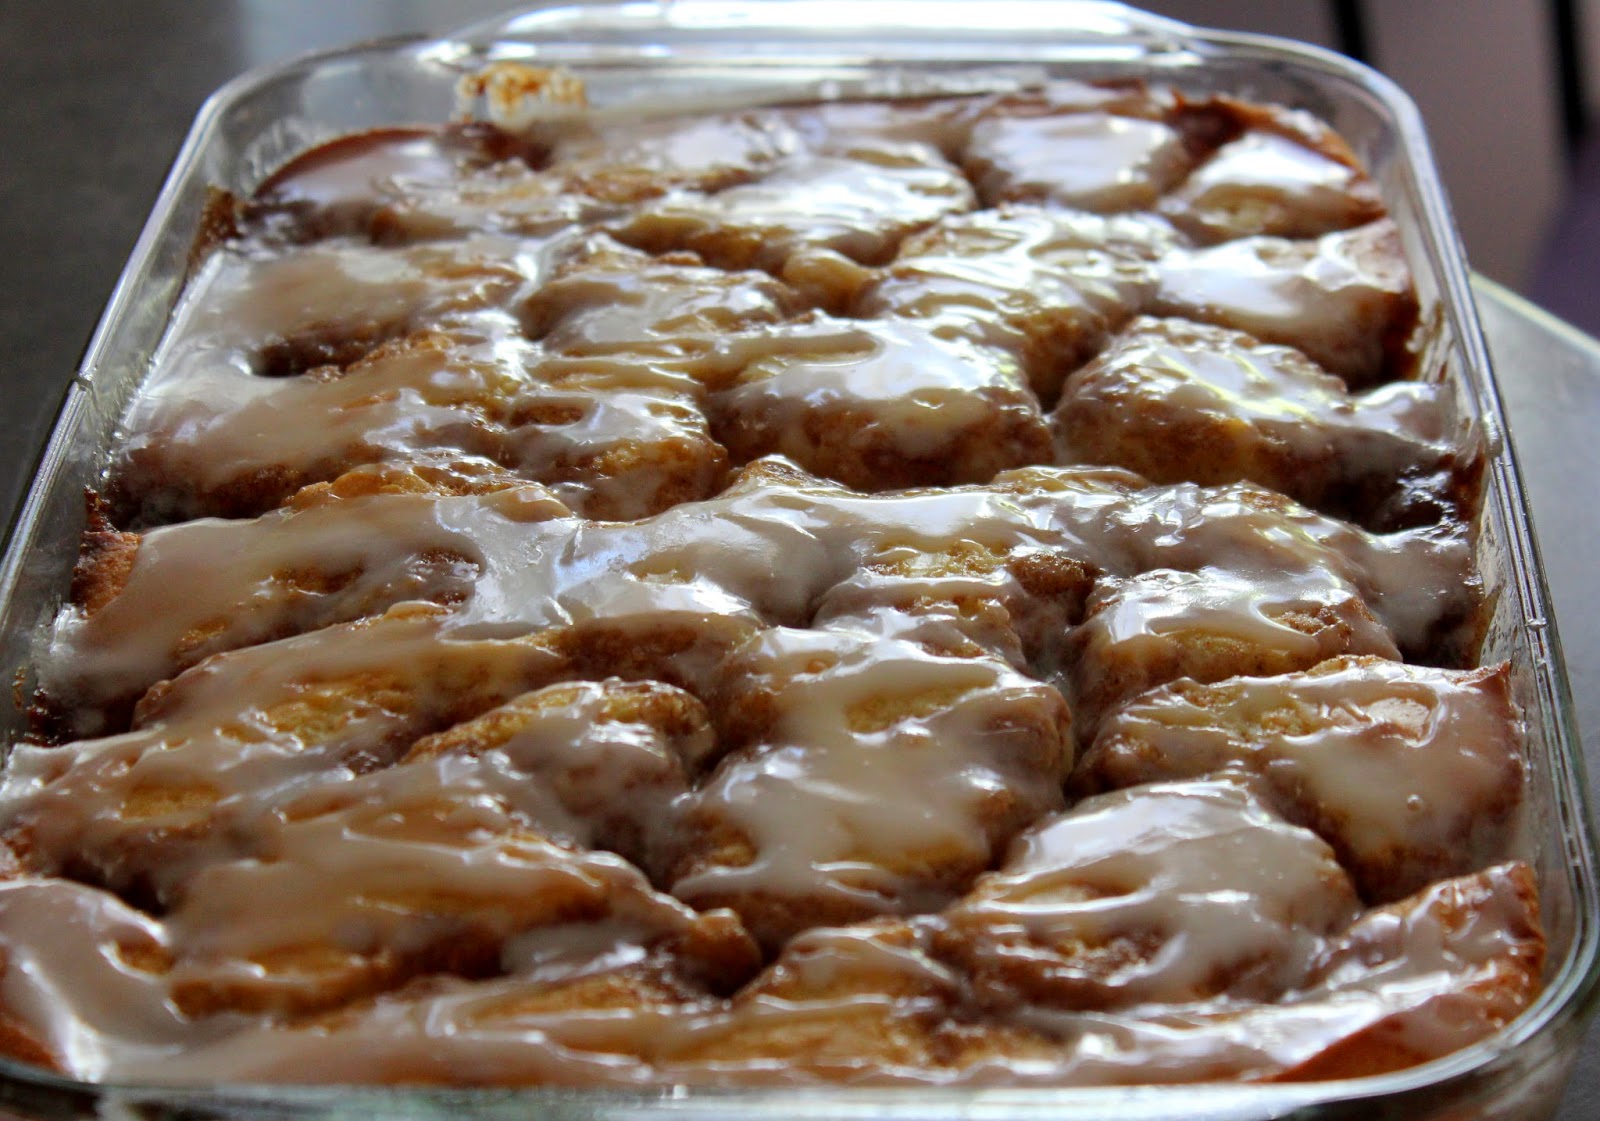


Cinnamon Roll Cake

Cinnamon Roll Cake:

CAKE:
3 cups Flour
1/4 teaspoon Salt
1 cup Sugar
4 teaspoons Baking Powder
1 1/2 cups Milk
2 Eggs
2 teaspoons Vanilla
4 T Butter, melted

TOPPING:
1 cup ( 2 sticks) Butter, softened to room temperature
1 cup Brown Sugar
2 Tablespoons Flour
1 Tablespoon Cinnamon

GLAZE:
2 cups Powdered Sugar
5 Tablespoons Milk
1 teaspoon Vanilla

DIRECTIONS: Preheat oven to 350 degrees. Spray a 9×13 glass baking pan with cooking spray. Set aside.

In an electric or stand mixer add the flour, salt, sugar, baking powder, milk, eggs, and vanilla. Once combined well , slowly stir in the melted butter. Pour into the prepared 9×13 baking pan.

FOR TOPPING, In a large bowl mix the 2 sticks of butter, brown sugar, flour and cinnamon together until well combined and creamy. Drop evenly over the batter by the tablespoonfuls and use a knife to marble/swirl through the cake. (I found it hard to swirl so just left it be and it came out perfect).

Bake at 350 for 28-32 minutes or when a toothpick inserted near the center comes out nearly clean.

FOR GLAZE: In a medium bowl, mix the powdered sugar, milk and vanilla together with a whisk. Drizzle evenly over the warm cake. Serve warm or at room temperature.


Enjoy!!

Thursday, December 27, 2012

Candy Cane Breadsticks


These Candy Cane Breadsticks were a big hit with my hungry kids while waiting for Christmas Eve dinner to be served. Easy to make and quite tasty if I do say so myself.

Ingredients:

  • 1 can Pillsbury Bread Sticks
  • 32 slices pepperoni
  • 1 tablespoon butter, melted 
  • 1/4 teaspoon garlic powder 
  • 1 teaspoon dried parsley
  • 1 Tbsp Parmesan cheese
Directions:

1. Preheat oven to 425 degrees F.
2. In a small bowl, mix melted butter, garlic powder, dried parsley and Parmesan cheese. Set aside.
3. On a flat surface lay out 8 breadsticks (there should be 16 in a tube of Pillsbury breadsticks)
4. Lay 4 slices of pepperoni on each of the 8 breadsticks
Take the remaining 8 breadsticks and place one on each of the breadsticks and pepperoni (like a sandwich - one breadstick, 4 slices of pepperoni, 1 breadstick)
5. Twist each of the 8 the breadstick 'sandwiches' into a swirl pattern then form into a candy cane shape.
6. Place the candy cane breadsticks onto a baking sheet.
7. Brush each candy cane with melted butter mixture.
8. Bake 10-12 minutes or until golden.


Enjoy!

Thursday, December 20, 2012

Cheesy Shrimp Dip


I am a huge fan of dips, especially at the holidays. I found this Cheesy Shrimp Dip recipe from Paula Deen website. Oh my gosh! It is amazing! My guests ate every bit of it. 

Ingredients:
  • 1/4 cup butter
  • 2/3 cup chopped red bell pepper
  • 1 pound medium fresh shrimp, peeled, deveined, and coarsely chopped
  • 1/3 cup sliced green onions
  • 1 cup sour cream
  • 1 cup shredded Parmesan
  • 1 cup shredded mozzarella
  • 1/2 cup mayonnaise
  • Pinch salt
  • Pinch cracked black pepper
  • Assorted crackers, for serving
* Note: Use more mayo & sour cream to stretch out the amount of dip.

Directions:
Preheat the oven to 350 degrees F.

In a medium skillet, melt the butter over medium heat. Add the red bell
pepper and cook for 3 minutes. Stir in the shrimp and green onions and
cook until the shrimp are pink and firm, 2 to 3 minutes. Stir in the
sour cream, cheeses, and mayonnaise. Add the salt and pepper, to taste.
Spoon the mixture into a 2-quart baking dish. Bake until lightly browned
and bubbly, 30 to 35 minutes. Serve with assorted crackers.

Enjoy!

Wednesday, December 12, 2012

Nutella Almond Crunch Cookies

I've been searching for a good chewy chocolate cookie recipe for Christmas and I found this Nutella Crunch Cookie recipe. I just wasn't sure how they would turn out - what was I thinking? Anything with Nutella is delicious - as are these cookies! I made a slight mortification to the recipe by using almonds for the nuts and added Nutella to the chocolate drizzle. Here is my version:

Ingredients:
  • 1 1/3 cups flour
  • 1/3 cup cocoa
  • 1 tsp baking soda
  • ½ tsp salt
  • ½ cup butter
  • ½ cup Nutella
  • ½ cup white sugar
  • ½ cup brown sugar
  • 1 egg
  • 1 tsp vanilla
  • 1 cup slivered almonds 
  • 1/4 cup chocolate chips plus 1 T of Nutella (for drizzle)
Directions:
  1. In a medium mixing bowl, sift together flour, cocoa, baking soda, and salt. Set aside
  2. In a large bowl, add the butter, Nutella, white sugar, and brown sugar and cream together with a mixer. Add the egg and vanilla extract to the creamed mixture and mix until combined. Slowly add the dry ingredients and continue mixing until incorporated. 
  3. Roll into 1 inch balls and then roll one half of the ball into slivered almonds.
    Note: I chill the dough for about 30 minutes before rolling into 1 inch balls.
  4. Bake 8 to 10 minutes at 350 degrees F. Do not over bake!
  5. Let cookies cool. Melt chocolate chips with 1 heaping tablespoon of Nutella. Drizzle on cookies.


Enjoy!!


Wednesday, December 14, 2011

Red Velvet Holly Cupcakes

Red Velvet Cupcakes with Chocolate Holly Leaves


Mini Red Velvet Cupcakes

For quite a few months I've been experiencing with a variety of cupcake recipes and decorating techniques for a variety of reasons (I'll post about that after that Holidays). I made these Red Velvet cupcakes for a Holiday gathering I was suppose to have this past Friday but things didn't work as planned so I saved the cupcakes for the next evening to share with friends and family to taste while we took photos of my son getting ready for his first-time high school dance.

These cupcakes were made with boxed Red Velvet cupcakes (I haven't found the perfect red velvet cupcake recipe yet so I went with a boxed cupcake) and made my own cream cheese frosting. To make them a tad more festive, I made chocolate holly leaves with red and green candy melts.

Chocolate Holly Leaves

To make the Chocolate Holly Leaves, I printed out a holly template from FreePrintables and then placed a sheet of waxed paper on top of the printout and piped melted chocolate following the template. I got the idea from when I made Turkey Feathers for some Turkey Cupcakes I made a few weeks back.

I have found it to be great fun to make cupcake toppers with chocolate motifs! Thinking up so new ideas to try soon.

Cream Cheese Frosting:

Ingredients:
  • 8 oz. cream cheese
  • 5 tbsp. unsalted butter, at room temperature
  • 2 tsp. vanilla extract
  • 2½ to 3 cups confectioners’ sugar, sifted
Directions:

To make the frosting, combine the cream cheese and butter in the bowl of an electric mixer. Beat on medium-high speed until well combined and smooth, about 2-3 minutes. Mix in the vanilla extract. Gradually beat in the confectioners’ sugar until totally incorporated, increase the speed and then beat until smooth.

Note: If you like a lot of frosting you may want to increase this by 50% for 24 cupcakes.

Wednesday, December 1, 2010

Paper Covered Clothespin Tutorial

Paper Covered Clothespin Tutorial

This tutorial shows you how to make paper covered clothespins to be used to clip Anders Ruff Advent Calendar Treat Cones to an Advent tree, garland, calender, etc.

Note: This tutorial could be used to make any paper covered clothespin clip with scrapbook paper, decorative card stock, printable paper, or any type decorative heavy weight paper.


I like to work in assembly line .. Here is my workspace laid out to make the first set of Advent Cones and paper covered clothespin clips.


You will need:
Wooden clothespins
Decorative paper (I prefer heavy weight or cardstock)
Craft/Scrapbook tape-runner adhesive
1/8 or 1/4 inch ribbon

For each clothespin, cut out a 3 inch by 1 inch piece of cardstock or heavy weight decorative paper. I found that each Anders Ruff water bottle printable image worked perfect to make four strips for four clothespins.


Next, you will attach the 3 inch x 1 inch strip of decorative card stock paper to the clothespin using an all-purpose scrapbook/craft tape-runner adhesive. On the back side of the paper strip, place a strip of adhesive down the middle(longways).

Note: You could glue or decoupage to do the paper to clothespin(s). I was short on time and found this to be quick and the craft tape-runner adhered quite while.


Place your clothespin on top of the adhesive that you just placed down the back side of decorative paper strip.


At this point press firmly so that the paper adheres well to the clothespin...


I know, the paper strip is wider than the clothespin. You are going to take care of that now but doing some trimming ...


Turn the clothespin upside down so that the decorative paper side is facing down. Now with an X-acto knife, razor blade, mini rotary cutter, or any utility knife, trim the paper close to the edge of the clothespin.


See...A nice smooth cut and the paper fits perfectly

Don't worry that it doesn't cover the top of the clothespin .. you will be covering this up later. If you wish to not decorate the top of the clothespin you will want to cut the strip longer (such as 4 inches) in the previous step.

Next, cut one of the circles from the Classic Holiday collection printabales (you can use the circles on the water bottle printables or any of the cards in this collection).


Next, place a strip of adhesive down the middle on the backside of the cut out circle.


Place the circle on the center top of the clothespin...make sure to press firmly so that the circle cut out sticks well to the clothespin.


Next, cut a 12 inch piece of ribbon (i used 1/8 inch grosgrain ribbon) and tie it around the top side of the clothespin.


Make a bow


Trim the ribbon ...


Get your Advent treat cone and clip on your finished paper covered clothespin to the cone ...


Your done! It's that easy!!

Here are some finished paper covered clothespin clips with their Advent Cones ....


I used Anders Ruff Advent Treat Cones and embellished clothespins to make an Advent Tree.