Thursday, April 26, 2012

Raspberry Sage Jam

As you know from reading other posts, I belong to a cooking club, Taste Tempters. This month our theme is cooking with Herbs. One herb, I really love is Sage. I have it growing in my garden and really don't use it enough. So searched around from something different to try with it. I found this lovely jam recipe from Dessert by Candy. Oh, it's just so yummy. I could only find red raspberries this time of year so here is my spin on her Black Raspberry Sage Jam (which I'm calling Raspberry Sage Jam since you can use any kind of raspberries in this recipe). I didn't realize raspberries had enough pectin in them so it's no necessary to add extra in this recipe. This recipe makes just enough to bring to a gathering, or have for a brunch, breakfast, etc. so you really don't have to go through the canning process. You can store in an airtight container and keep it in  your fridge. It's so good you won't have to worry about keeping it for too long.

Raspberry Sage Jam

This recipe is adapted from by Dessert by Candy's Black Raspberry Sage Jam

Ingredients

  • 18 oz. red raspberries (or a combination of black and red raspberries), about 1 1/2 pint, washed and dried
  • 1 cup granulated sugar
  • zest and juice from half a lemon
  • 1 tsp unsalted butter
  • 2 large sage leaves, chiffonade

Method  

( Dessert by Candy's instructions are great so I'm copying and pasting these from her website to go along with my photos)

1. Place a small white plate in the freezer. You’ll need it later to test the jam set.

2. Wash your canning jars in hot soapy water. In a medium pot, fit a metal trivet or steaming rack. Place the jars on the trivet inside the pot and fill half way with water. Bring to a rolling boil and boil for 10 minutes to sterilize the jars. 

3. In the mean time, put washed berries in another medium size heavy bottom pot with a tall side. Mash the berries with a potato masher. Add in sugar, lemon zest, lemon juice, and butter. Bring to boil at high heat, stirring constantly. 


4. Keep cooking and stirring until the fruit mixture thickens. It will bubble angrily and you just have to keep stirring. Due to the high level of pectin in raspberries, the jam will likely reach setting point way before it reaches 220F. I stopped cooking mine at 215F for a loose consistency. To test whether your jam is done, remove pot from heat. Using a metal spoon, drop a small spoonful of jam onto the cold plate you put in the freezer earlier. Leave the plate in the freezer for one minute. Nudge the puddle of jam with your finger. If the surface wrinkles a bit and the jam doesn’t run when you hold the plate vertically, it’s done. If not, cook the jam for another 2-3 minutes before testing again.
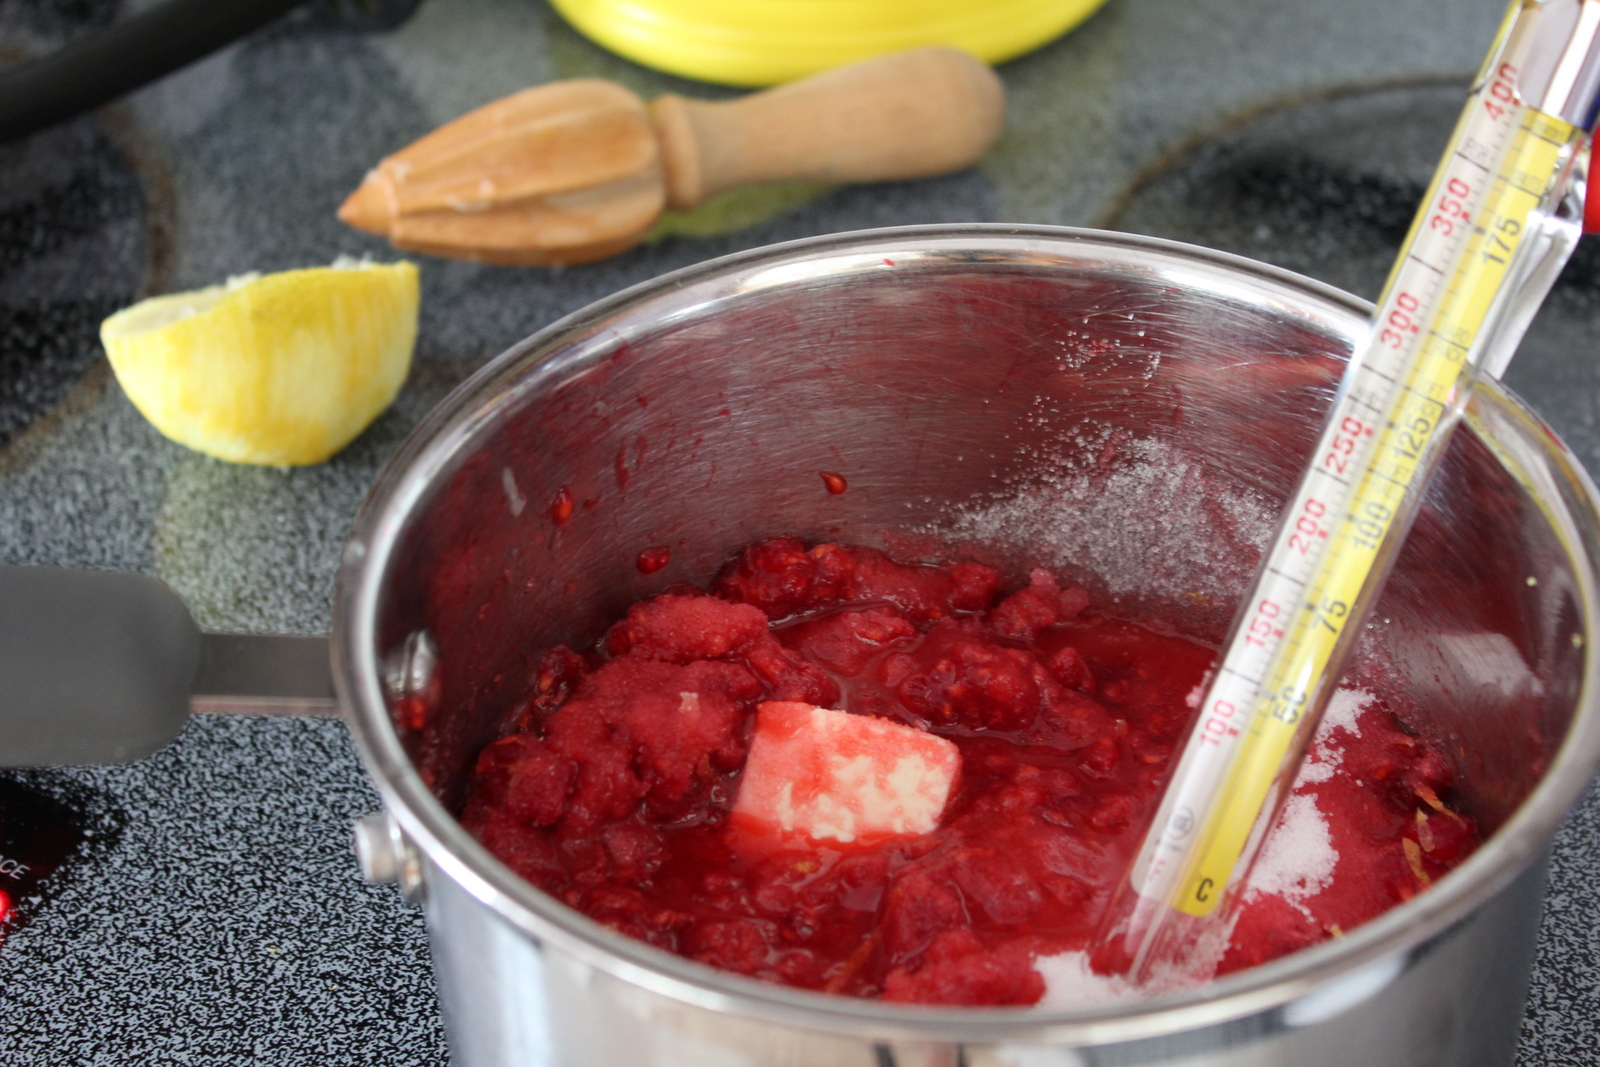
Yep, it did get a little messy with the anger bubbling..but easy enough to clean up when you are done. 

5. Chiffonade two leaves of sage and then stir the sage into jam.


6. At this point you may fill your canning jars with jelly and follow the steps below. Or you may store in the jam in an air tight container and store in the refrigerator. This recipe makes a small enough to fill a jelly jar and can be stored for a few days. You will eat up quickly - it's delicious! 
Now make yourself a piece of toast, spread lots of yummy jam on top (you may even want to add a bit of butter before the jam - yum!), and eat up!
 
 
I found these great free printable jam labels over here. I couldn't find one for Raspberry Sage Jam so I just hand wrote "sage" on the label.


Thanks for stopping by! Enjoy!!

Tuesday, April 17, 2012

Beef Brisket Made With Cola {Recipe}

Having a teen boy in the house means lots of cooking and keeping food in the house. A growing boy really DOES eat alot of food. It's amazes how much he can eat and stay in good shape. Well, he does play soccer and runs track so I guess that drives the hunger.

Anyway, his biggest request is meat, potatoes and gray.. that does seem to satisfy the hunger. Meat prices are high so I'm always looking for good sales/prices and economic ways to feed the boy's hunger. I ran across this big 5 1/2 lb beef brisket for a great price last week at the grocery. I've made brisket in the past but was looking for something different and easy. This recipe is great. It's made with cola (what's a teen boy not to like - meat and soda all in one dish). It's covered in onion slices and slowly cooked/braised in the oven (or you can slow cook it in your crockpot). You make homemade BBQ sauce from the cola mixture to serve with it - delish! My son LOVED it. He gobbled it up with a side of homemade Macaroni and Cheese and 7-Up Biscuits (here we go again with the soda).

Since it went over well with everyone in the house I thought I'd share the recipe with you.

Beef Brisket:


INGREDIENTS:

3/4 cup cola
1/4 cup Worcestershire sauce
1 tablespoon vinegar
2 cloves garlic, minced
1 teaspoon beef bouillon granules
1/2 teaspoon dry mustard
1 teaspoon chili powder
1/4 teaspoon cayenne pepper, ground
2 medium onions, sliced in rounds
2 pound beef brisket
1/2 cup ketchup
2 tablespoons margarine or butter

Note: I doubled the recipe for a 5 lb brisket

DIRECTIONS:

For meat: Mix all ingredients up to and including red pepper. Reserve 1/2 cup for sauce. Place brisket in a baking dish, top with sliced onions. Pour remaining liquid over meat. Bake at 350 degrees for 1 hour. Turn heat down to 275 degrees (after the 1st hour), cover and cook 3-4 hours.

For sauce: Combine 1/2 cup reserved liquid, ketchup and margarine in saucepan. Heat. Set aside. Slice or shred cooked meat. Serve with sauce.

For crockpot: Cook on low 10-12 hours or medium-high for 5-6 hours.


Enjoy!

Monday, March 19, 2012

Cupcake Flower Bouquet


I have been in awe of cupcake flower bouquets for a long time now. This is my first attempt at making a cupcake flower bouquet. There are many, many tutorials and videos floating around on the internet. I will make a tutorial to share with you on my next bouquet. In the meantime, I used/followed this video from Fairytailcakes. The only change I made from the video was that I used a white Styrofoam ball with the plastic left on the ball to keep the cupcakes clean (the Styrofaom ball was wrapped in plastic at time of purchase). If you can't find one already wrapped in plastic, I would suggest wrapping the Styrofoam in foil or plastic wrap before adding your cupcakes to the bouquet. I used tissue paper as the filler for in between the cupcakes after I attached them to the Styrofoam ball.


I will be teaching a cupcake decorating class tonight to 30 girls who attend a local University. Our theme is Spring Flowers & Swirls. So I thought a few cupcake bouquets on the tables would be perfect for the girls to look at for inspiration on guidance when decorating their cupcakes.

One catch to the decorating class is that the cupcakes and frosting need to be kosher so all preparation needs to be done in the kitchen where the class will be taking place. I wasn't exactly sure what I wanted to teach so I need to practice at home before the class. I really didn't want to make too much frosting or spend alot of time making cupcakes since these were just practice before tonight.

To save time, I made boxed angel food cake because you only need to add water to the mix. And it makes 36 cupcakes so lots cuppies to play with. And for the frosting I used canned frosting (eek!) and added powdered sugar to stiffen up the frosting. For each can of frosting I added a heaping 1/2 cup of powdered sugar. It wasn't perfect but it did the job for demonstration purposes.


If you have any tips or comments about cupcake flower bouquets,
please be sure to share with us!

Saturday, March 17, 2012

Spinach Artichoke Pizza

Do you like Spinach Artichoke Dip??? Then you will love these Spinach Artichoke Pizzas. I've made these countless time and they come out great every time. I made these for my St. Patrick's Day Bunco last night.


Ingredients:

  • 4 Tbsp Wegmans Artichoke Asiago Dip (Cheese Shop), divided*
  • 1/2 cup Shredded Mozzarella Cheese, divided
  • 1/4 of 6 oz pkg Baby Spinach (about 2 cups), divided
  • 1 tsp Pure Olive Oil
  • 1 pkg (2 loaves) Traditional Naan Bread
* If you do are unable to purchase this dip, you can make your own. In a small bowl, combine 1/4 cup mayonnaise, 1 tsp lemon juice, 3 to 4 Tbsp chopped canned artichokes, and 2 Tbsp Asiago (or Parmesan) cheese.

Directions:

Preheat oven to 400 degrees,

Spread each naan bread with 2 Tbsp artichoke dip:
Top with spinach:

Drizzle with olive oil:
Top each with 1/4 cup (or less) of mozzarella cheese:
Place on baking sheet:
Bake at 400 degrees for 13-15 minutes or until cheese is melted:
Quarter pizzas; serve immediately:
Enjoy!!

St. Patrick's Day Bunco


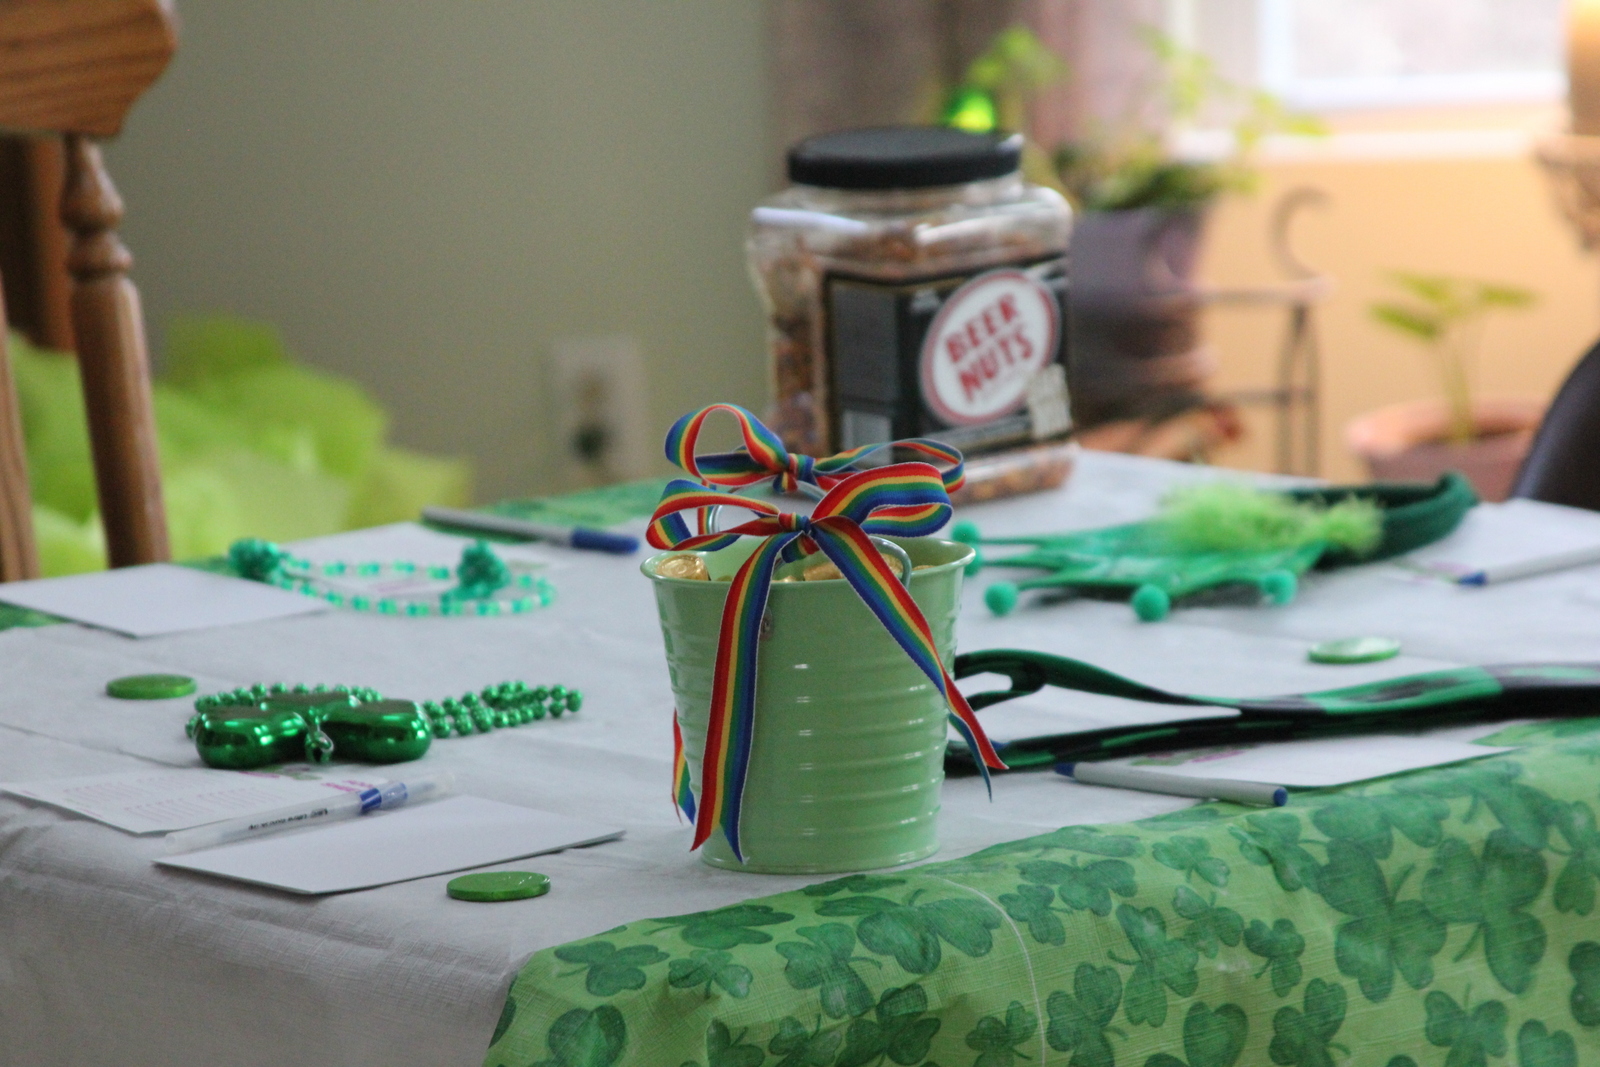
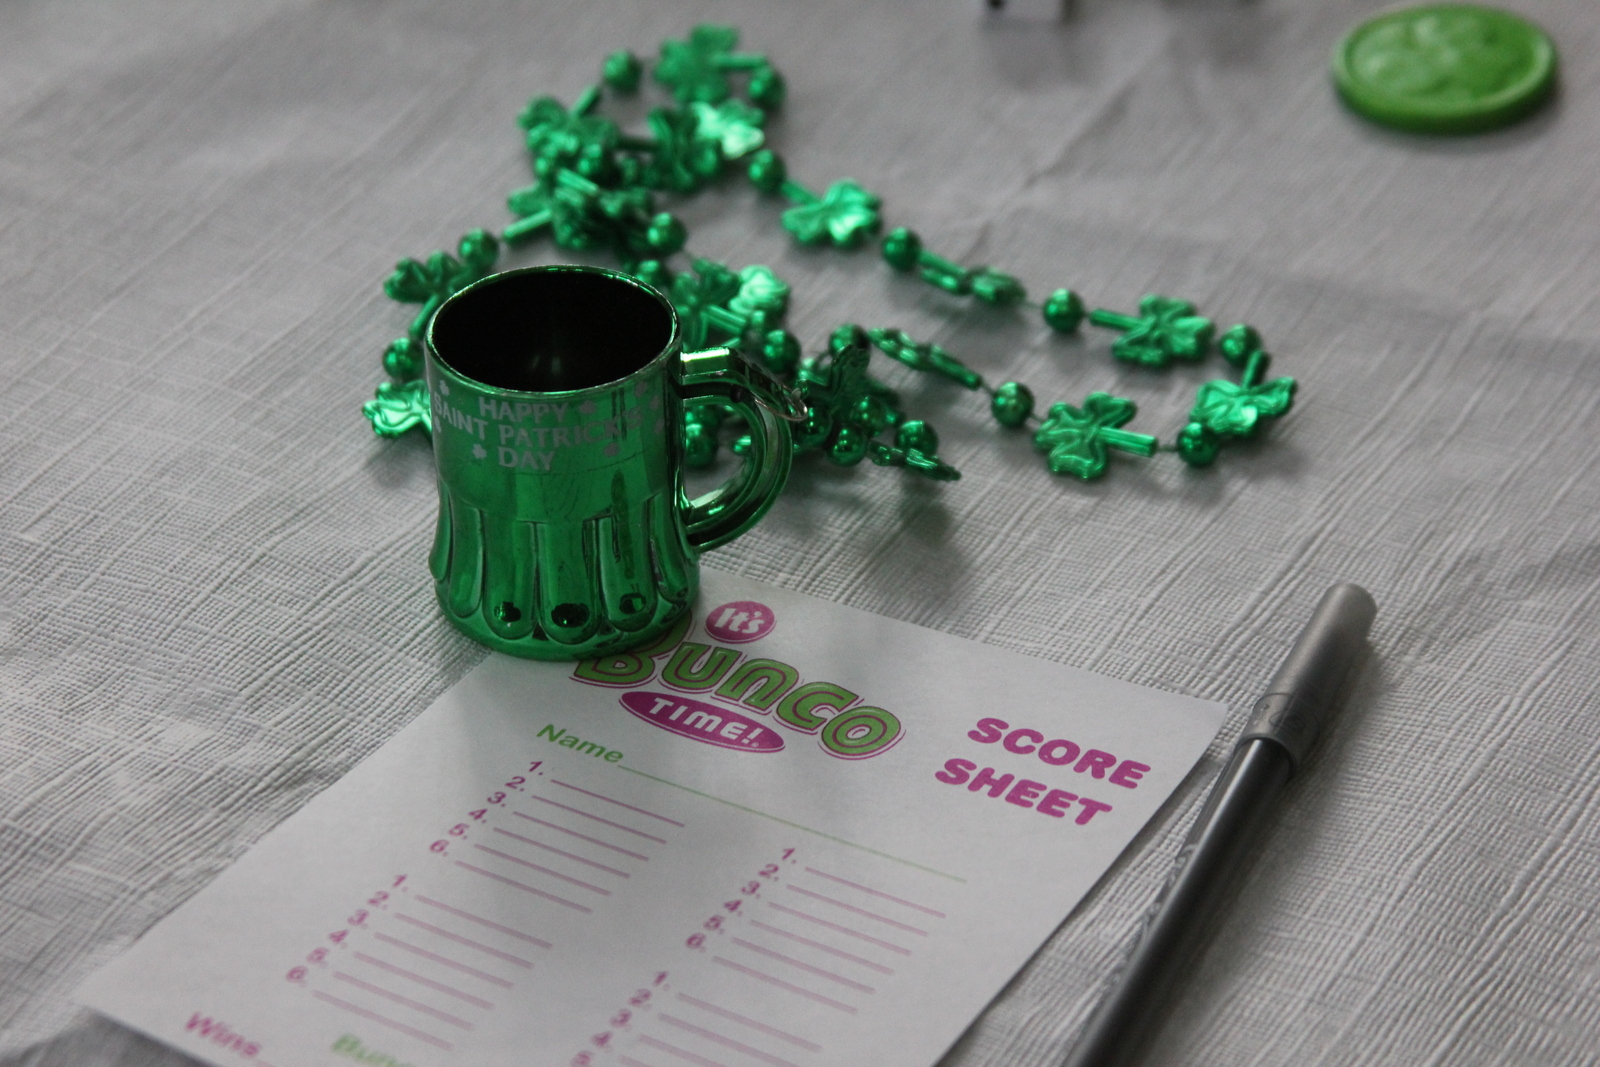
It was my turn to host bunco this month so my theme was St. Patrick's Day. Tons O' Fun! We had lots of fun, food, and laughs. This post is going to have Lots O' Photos of food, table setup, etc. Hope you enjoy looking.

The table of yummies consist of Rainbow Fruit Platter, Lots O' Green Veggies, Spinach Artichoke Pizza, Mini Reubens, Southwest Eggrolls, Lemon Meringue Pie, Irish Soda Bread, and last but not last the most delicious Guiness Stout Brownies.

Rainbow Fruit
Rainbow Fruit Platter Recipe: Rainbow Fruit

Lots O' Green Veggies:


Look closely and you'll see the green peppers were sliced to look like shamrocks

Mini Reuben Sammies:

Mini Reubens Recipe: Mini Reubens

Spinach Artichoke Pizza
Spinach Artichoke Pizza Recipe: Spinach Artichoke Pizza

Southwest Eggrolls
Baked Southwestern Eggroll recipe: Southwestern Eggrolls (recipe from Annie's Eats - Yum!)

Irish Soda Bread
Irish Soda Bread Recipe: Irish Soda Bread

Lemon Meringue Pie
Lemon Meringue Pie (Bought at the Grocery. Yep, I cheated)

Guinness Stout Brownies

Guiness Stout Brownies Recipe: Guiness Stout Brownies from Blondies Cakes
(These are the most amazing brownies you will ever eat!!

Table Settings:


Pot O' Gold
(Snacks for the bunco tables)

Pot O' Reeses:


Rolos:
Pot O' Snickers:I set out some fun St. Patrick Day "wearables" for everyone to wear while playing bunco.
(we all actually had fun doing this - you'll see later)


Bunco Prizes:
Bird Houses & Votive Candle Holders


Fun Times With The Traveling Wig:

There's one person that had a little too much fun with the wig!

HAPPY ST. PATRICK'S DAY!!